In 2014, I posted here about the mini-greenhouse I built out of an old swingset frame, covered it with secondhand greenhouse plastic. The plastic lasted about 10 years, although toward the end, I was patching it with the very sticky red tape used on house wrap.
In 2024 I rebuilt the swingset greenhouse, bigger and better.
One limitation of the old greenhouse was that it was hard for a tall person (me) to move around in. That was partly because of the height of the frame, and partly because over the years, the plastic sagged inwards – when it wasn’t flapping in the wind, keeping us awake.
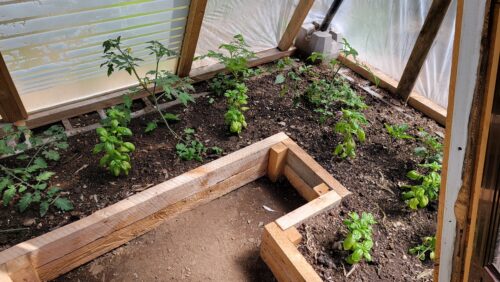
So I wanted to use more wood framing to widen the interior space.
I chose to use rough-cut hemlock, which is what’s used around here for long-lasting raised beds. I bought 2x4s directly from a local sawmill and carried them home in my 4-door Corolla, which is a bit of a feat in itself. By now, my financial resources were a little less strained, but I’m still frugal. And I don’t have a truck.
Another advantage of rough-cut wood is that you get the full 2 inches by 4 inches. It hasn’t been planed into the 1.5 x 3.5 inch studs used in construction.
A disadvantage to rough-cut wood is that it’s easy to get splinters in your fingers, which is more of a problem during the building process than it is later when gardening. Wear gloves when handling.
The old base, made of spruce 2x4s that I’d had lying around, had rotted completely. Wanting something that would last longer, I researched cinder blocks. Apparently, reservations to using them for food gardens pertains to how they used to be made, and they’re okay now.
So I bought enough cinder blocks to build the rectangular base. Setting them in the ground square and level led me to deep contemplation and appreciation of the stonemasons of history.
Tools used to lay the cinder blocks: measuring tape and spirit levels, both short (for the individual block) and long (lay the level on a straight 2×4 to check that opposite walls align), a construction-grade shovel (with a flat edge), biceps and triceps (they blocks are heavy), and lots of patience.
The downhill-most corner needed a more solid stone support underneath, and will require occasional inspection.
I did not use mortar. The blocks are touching each other.
But I didn’t see how they would hold the feet of the swingset.
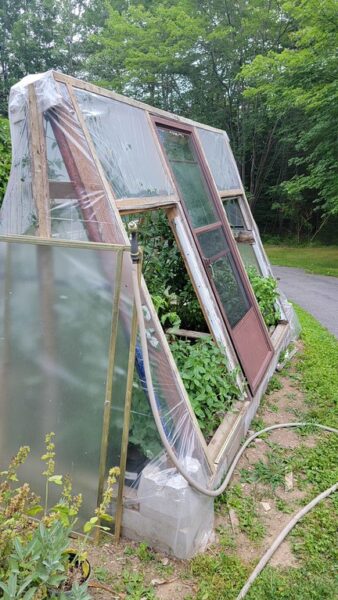
I had a concrete deck pier block left over from a porch project. Would it work? Yes! I bought 3 more (heavy!) and laid them in the corners on top of the cinder blocks. Bonus: they added to the height of the structure. They would require some creativity in wrapping the plastic, but I’d figure that out later.
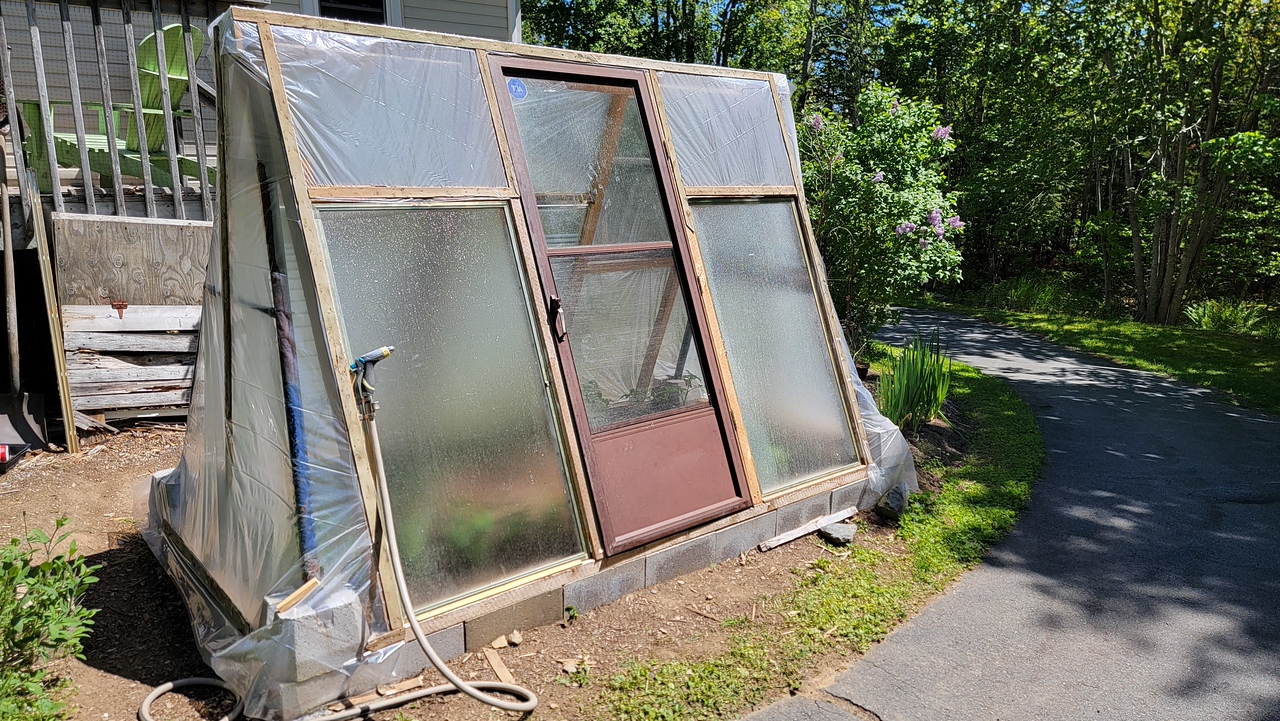
I framed the south-facing wall with 2x4s to accommodate the 2 shower doors I’d been using on top of coldframes for years. They’re sturdy and they don’t flap!
I also had our old aluminum storm door. To include it in the south-facing wall, the frame would have to be as high as the top bar of the swingset, even with the swingset raised high in the deck blocks.
The door’s frame and hinges were toast (which is why we’d put a new door on the house). In order to add hinges, I securely screwed a 2×2 (ripped from a hemlock 2×4) to the door flange. I could then attach brass hinges to the wood. It worked!
The two shower doors plus the kitchen door were the perfect width for the south wall. Plastic would have to fill the spaces above the shower doors.
(The metal swing frame is almost redundant now.)
The south-facing shower doors can come off to prevent overheating in the heat of summer. Peppers and basil love it, and I use it for salad greens, seedlings, etc. in spring and fall.